Skull-face overlay scene
Once the cephalometric and craniometric landmarks have been placed, we will be able to access the skull-face overlay scene  .
.
In this scene, by default, the skull projected on the facial photograph will appear in the center of the image (Figure 1).
 Figure 1. Skeleton·ID skull-face overlap scene.
Create a new skull-face overlap
-
By default, when accessing the skull-face overlap scene, a new overlap will appear with the name “New overlay” plus the creation date and time. The first thing we should do is create our own skull-face overlap using the button
 .
. -
A pop-up window will appear (Figure 2) where we must configure the name of the new overlap and select the soft tissue thickness study that we want to use.
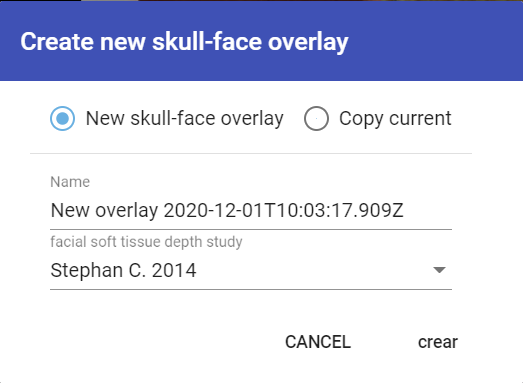 Figure 2. Creation of a new skull-face overlap.
-
This option allows us to create multiple overlaps. This allows us to have different skull-face overlaps on the same 3D model-photography pair made by different people or using different soft tissue studies.
-
With the import button
 , we can import and load a file with a previously exported overlap.
 -
The export button
 , allows to export and save locally a file of the skull-face overlap.
 -
The delete button
 , allows to delete the selected skull-face overlap.
 -
Just below the name of the skull-face overlap we have the soft tissue selector (Figure 3), a drop-down menu where we can choose between the existing soft tissue studies if at any time we want to change the study that we have selected by default when creating the overlap.
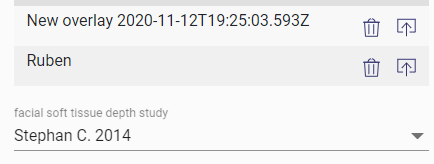
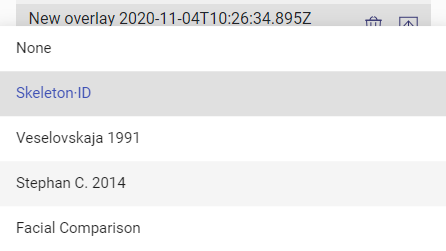 Figure 3. Soft tissue selector.